How Signs Are Made
How a Custom Sign Is Made: From Idea to Installation
Follow a custom sign from the first idea through site checks, design approval, making and fitting, with clear checks for every step.
A custom sign starts with more than a picture or a logo. It has to fit the place where it will go, use a material that suits that spot and be possible to attach safely. Knowing the steps can help you share useful information, check a design and understand what must be agreed before the sign is made. This guide follows the process from your first conversation through measuring, design, making and fitting. The exact steps change from one sign to another, but the questions are useful for shop signs, office names and raised letters. Good planning keeps your message in view while helping everyone understand what happens next.
1. Explain what the sign needs to do
Start with the words or name you want people to see, where the sign will go and who needs to read it. Send a logo file if you have one, your preferred colours, a rough size, photos of the place and the date you have in mind. Say whether the sign is inside or outside, whether it needs lights and whether it will stay in place or be used for a short event. You do not need to know the name of every sign style before you speak with a sign maker.
It helps to separate must-haves from things you would like if they work. For example, the business name and a certain colour may be essential, while a special finish may be an option. Say who can approve the design and gather comments from other people involved before sending them in. This gives the team a clear starting point and makes it less likely that an important choice will be missed.
2. Check the place and take measurements
The next step is to check that the sign will fit the real wall, window or doorway. Measurements might come from a visit, a building plan or your own tape measure, but everyone should know where they came from. Take photos straight on and from the directions people will see the sign. Include the whole building area and a close view of the surface. A wall, cladding, brickwork and window glass need different ways of holding a sign.
Tell the sign maker about access, opening hours, security and the person who looks after the building. A visit can confirm the size and show where the sign can be attached. It may also reveal a pipe, uneven wall or old fixing that was not clear in a photo. Do not assume an old sign's holes or measurements will suit a new one. Check the details before the design is treated as final, especially if the sign must fit into a tight space.
3. Choose how the sign will be built
A flat panel, cut-out words, raised letters and a sign with lights are all built in different ways. The choice affects how the sign looks, how heavy it is and how it will be fixed to the building. Talk about the wall, the weather, the finish you want and how the sign will be cleaned. If colour or texture is important, ask to see a sample or a clear reference. Make sure the final choice is written down rather than left as “the shiny one” or “dark blue”.
The drawing may show whether letters will be fixed one by one, placed on a backing panel or held by a shared rail. Each choice changes the look and the fitting steps. Ask what parts will show from the front and sides, and how the letters will line up. If the sign is going onto an existing frame, make sure its size and fixing points are clear. A view that looks lovely on a screen does not always show how a sign meets a real wall.
4. Read the design carefully before approval
A design proof is a picture of what the sign is meant to look like. Check every word, the logo, colours, size, direction and position. Look for small things such as a phone number, apostrophe or opening time. Ask whether the drawing shows the front of the sign or how it may look on a photo of your building. A photo view helps with appearance, but it may not show every part needed to make and fit the sign.
Ask for the material, finish and size to be written down too. Check that the person who can approve the work has seen the right version. Keep a copy of what you approved. Once the sign is being made, changes may mean new materials or extra work, so ask questions before giving the go-ahead. If anything does not match what you discussed, point it out and wait for a corrected drawing. It is much easier to fix a spelling mistake on a screen than on a finished sign.
5. Make the pieces and check the finish
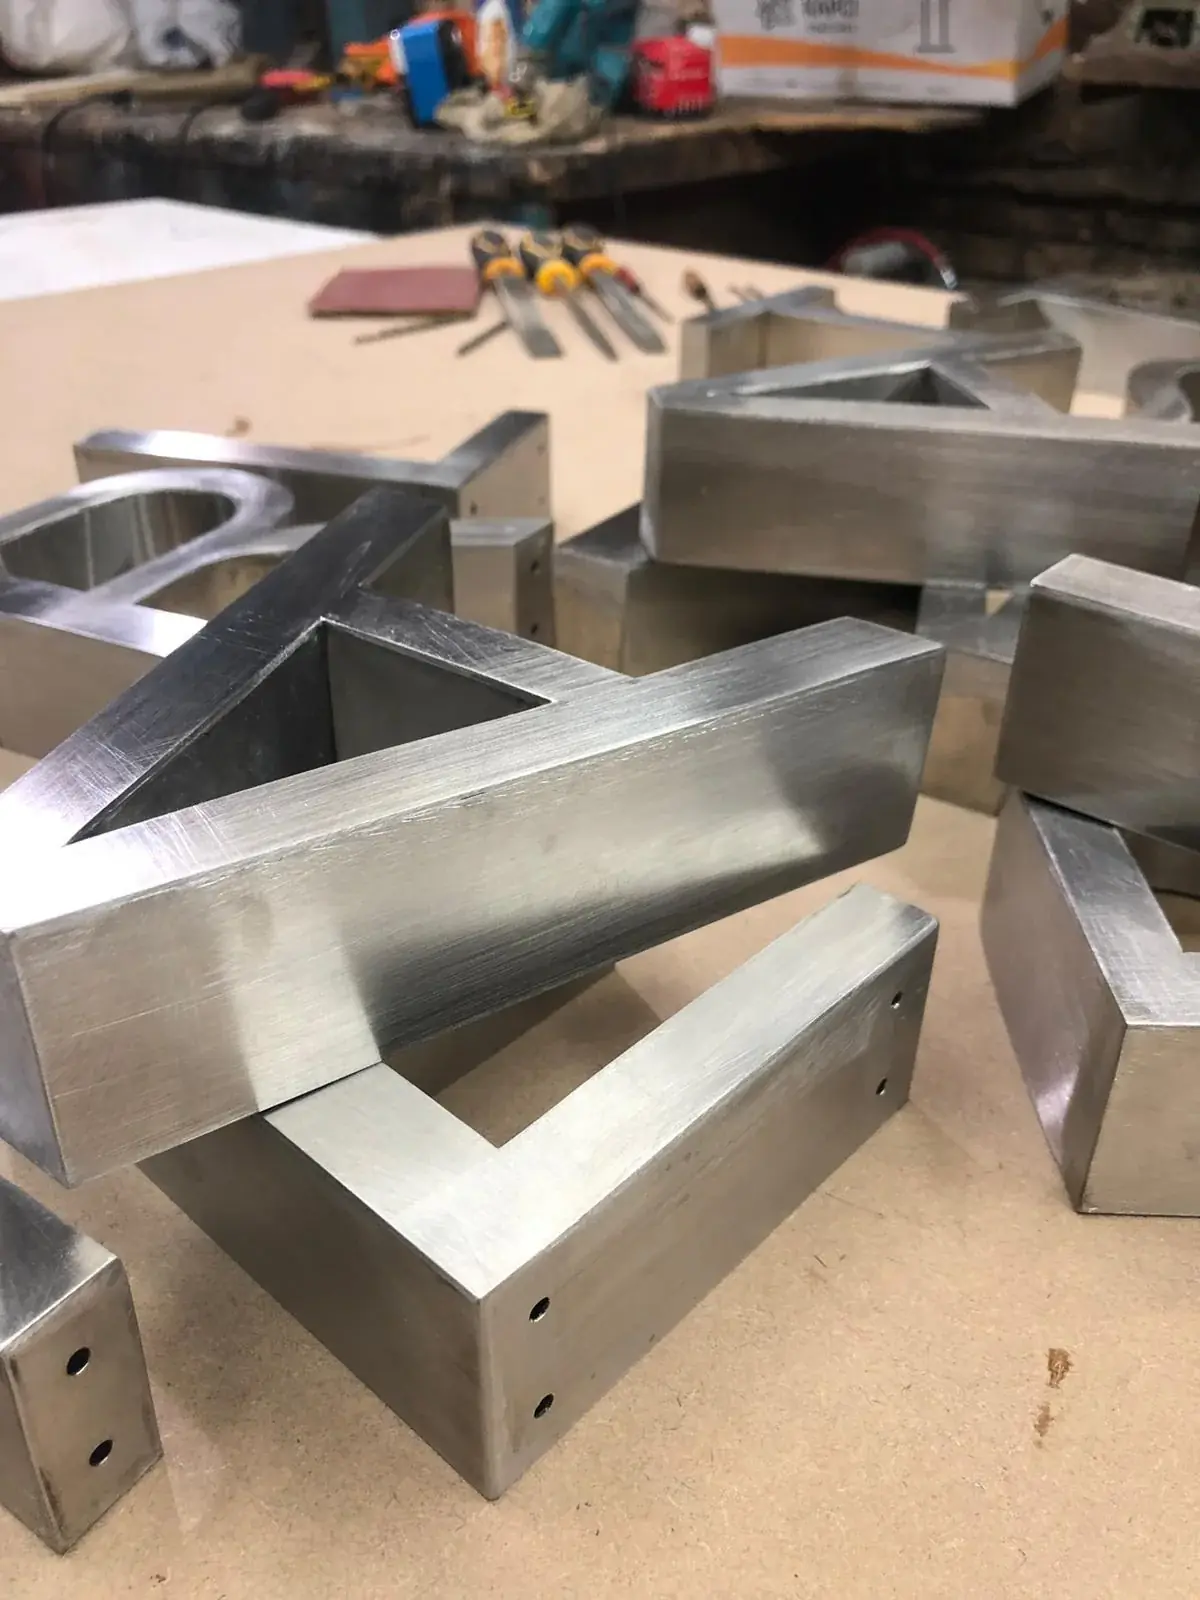
The workshop may cut, shape, print, join or paint parts, depending on the sign. If it has lights, those parts may be added and checked too. The finished pieces are prepared for the trip to your site. Before they leave, useful checks include counting parts, looking over visible surfaces and checking that colours and sizes match the approved plan. Ask what checks are right for your particular sign and whether the lights are tested before delivery.
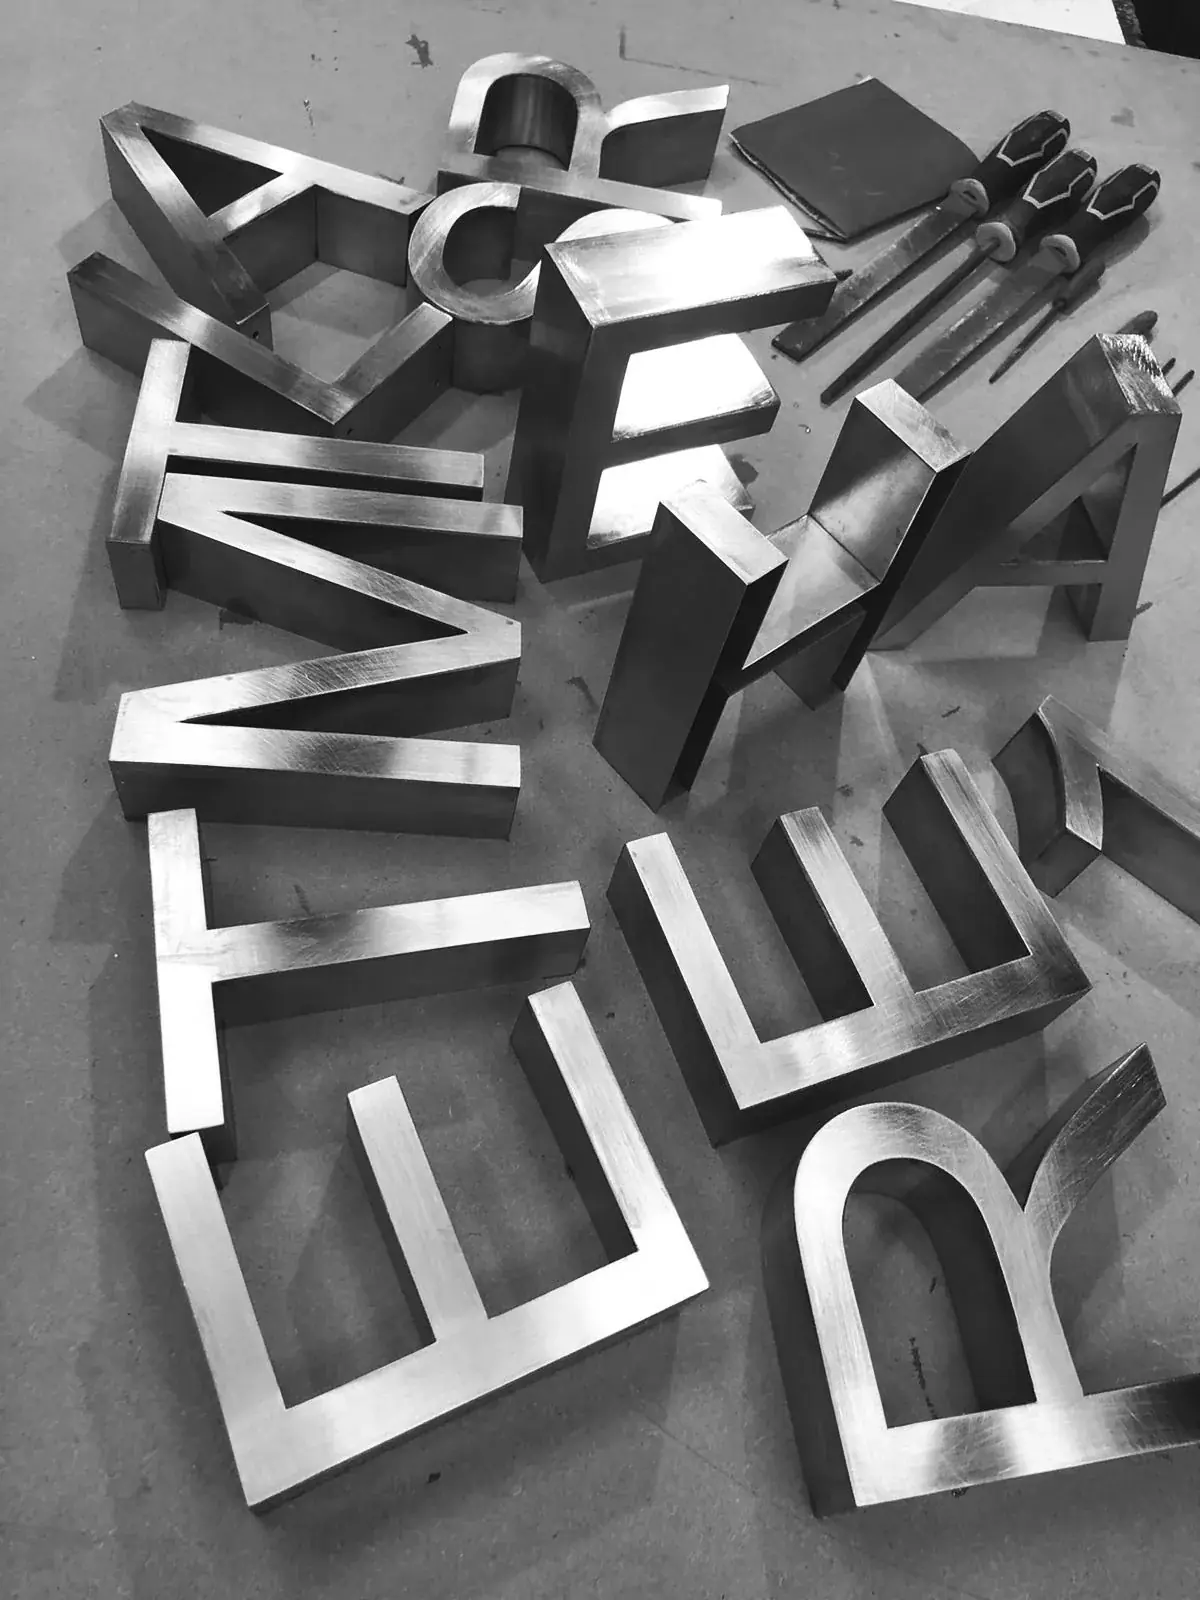
The sign still needs to be set out carefully when it reaches the building. Each letter in a long name must sit at the right height and distance from the next one. The approved drawing and the site measurements need to agree. The photo of workshop letters shows individual metal shapes before they become part of a finished sign. Ask how pieces will be packed and moved, especially if the sign is large or has a surface that could be scratched.
6. Prepare for fitting day
Before the fitting date, confirm who will meet the team, how they can get into the building and where they can work. Check whether a clear space is needed, if the business can stay open and whether security or building rules apply. If the sign needs power, make sure the plan for the connection is understood. A short check-in before the day can prevent a team arriving to find a locked door or a blocked wall.
The fitting team marks out the position, checks the spacing and attaches the sign using the agreed method. If there are several parts, their alignment matters to the final look. If the wall or access differs from what was expected, stop and talk it through rather than forcing a fit. Once the sign is up, look at it from the normal viewing spot and ask for care instructions. Keep the approved drawing and fitting details in case you need a repair or a matching sign later.
Save the logo, measurements, material, finish and supplier details together. They can help if you open another branch or need to replace one part. Ask what cleaning products to avoid and whether lights or fixings need a check. For raised letters, see the built-up lettering page to learn about that type of sign. Then speak with London Signage about the words, location and style you have in mind.
Commercial Signage London — Explore raised letters for a custom business sign.
Contact London Signage — Talk through the design and making steps for your sign.
Ask for a custom sign quote — Share your idea, location and timing.
Common questions
Clear steps help make the sign you expect
A custom sign comes together when the message, place, design and fitting plan all match. Share useful details early, check measurements and read the proof before saying yes. Make sure you know who is arranging access and what will happen on fitting day. These steps give you clear moments to ask questions before the sign is made. London Signage can discuss sign styles even if you are not sure which material or shape you need yet. Gather the wording and a few site photos, then start a conversation about what might work. You can ask questions before choosing a final design.
Frequently asked questions
How long does it take to make a custom sign?
It depends on the design, materials, approvals, workshop schedule and fitting access. Ask for an expected plan once the sign and site details are clear.
Do I need finished artwork before I ask about a sign?
No. A logo and colour guide are useful if you have them, but a clear idea, photos and rough measurements are enough to start a conversation.
What should I check on the design proof?
Check all the words, logo, colours, size, direction and position. Ask what material and finish are planned, and make sure the final version is the one you approve.
Can I change the design after I approve it?
Maybe, depending on how far the work has gone. Tell the sign maker as soon as possible and ask whether the change affects the cost or date before work continues.